Introduction
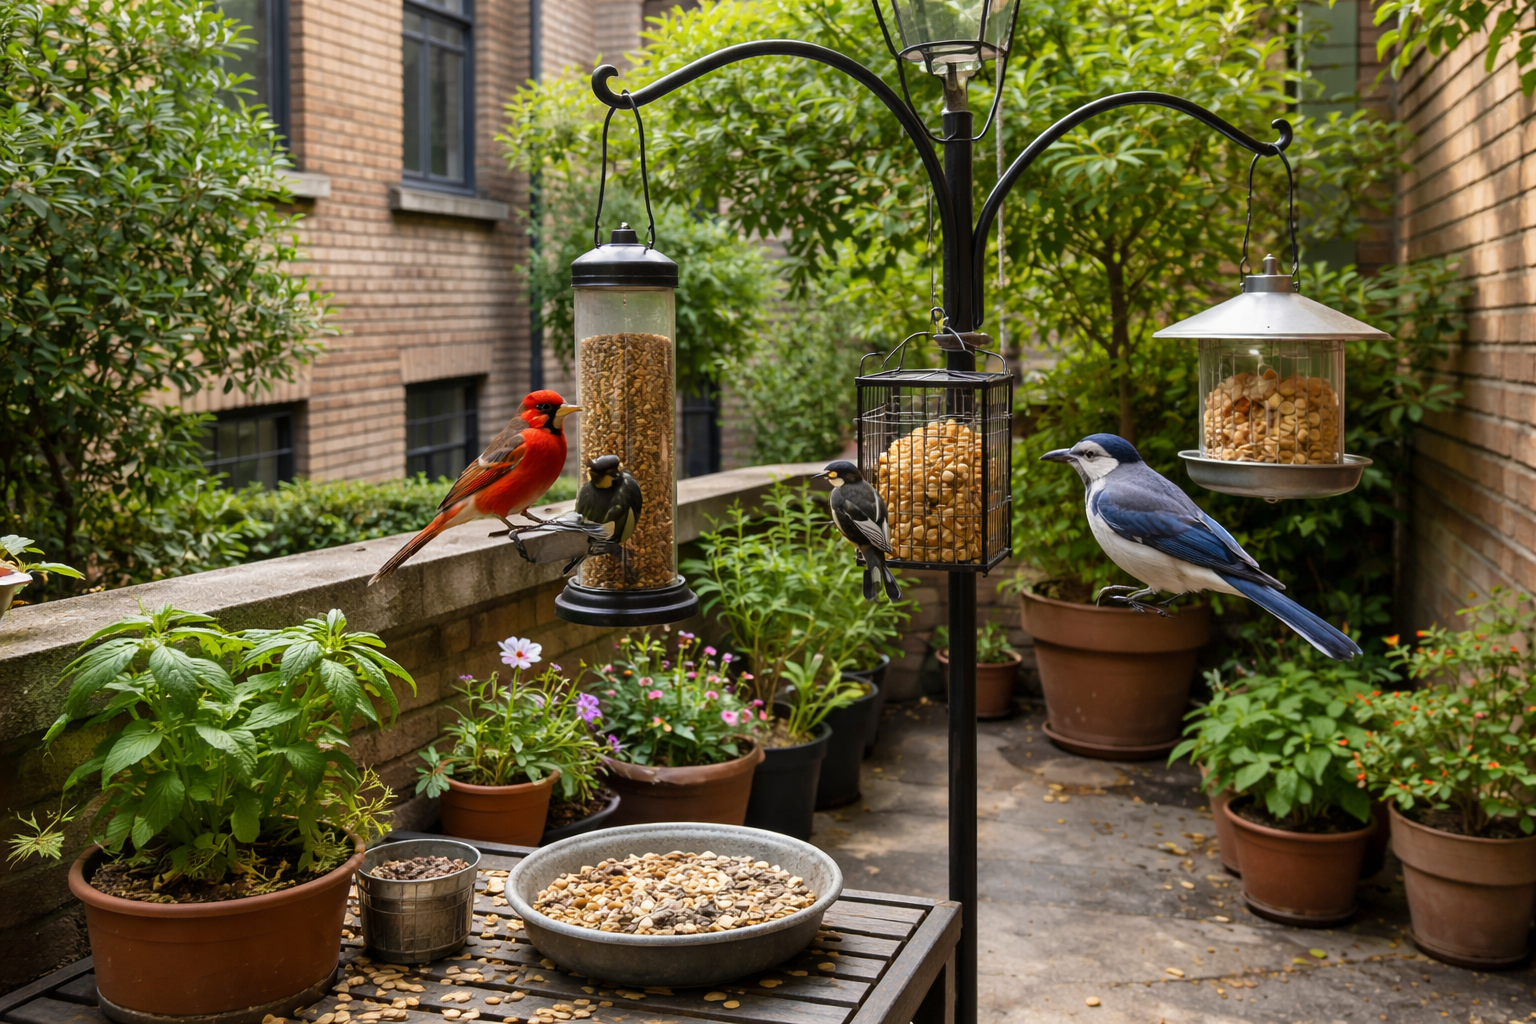
Bird feeding is a friendly, hands-on way to connect with local wildlife while improving garden biodiversity. For beginners, it offers a clear path from simple projects to more ambitious builds, all while teaching important lessons about safety, ethics, and bird health. The goal is to start small, gain confidence, and gradually expand to designs that suit your space, climate, and visiting species. A few simple rules help beginners do this safely: use non toxic finishes, keep feeders clean and dry, provide fresh water, and respect local birds’ needs and limits. With thoughtful placement and steady maintenance, backyard feeding becomes a reliable source of enjoyment and observation rather than a frustrating experiment.
This guide organizes practical, beginner friendly feeder plans into a decision path based on space, birds, and budget. It also covers design principles that improve safety and durability, seasonal feeding guidance, maintenance routines, and common troubleshooting tips. A side by side comparison helps you decide quickly which design fits your situation, while a quick start plan and printable templates support a smooth weekend build.
Design principles for beginners
Durable construction tops the list for a first project. Choose weather resistant materials such as cedar, cedar composite, or untreated lumber sealed with a food safe, low-VOC finish. Metal components should be corrosion resistant and, if painted, finished with non toxic coatings. The goal is a structure that remains solid after exposure to sun, wind, and rain and that cleans up easily after the season.
Safety starts with finishes and mounting. Avoid any coatings with solvent odors that could irritate birds. Use non toxic sealants and paints, and ensure there are no sharp edges or protruding nails that could catch feathers or injure a passerine. Mounting should keep feeders stable yet accessible for refilling and cleaning, with weather protected seams to minimize mold and moisture buildup.
Ease of assembly matters more than complexity right out of the gate. Simple joints, straightforward screw patterns, and removable panels for cleaning help beginners stay confident. An easy to clean design also supports better bird health by reducing mold and stale seed, especially in humid or rainy climates.
Weatherproofing and finishes matter too. Sealing wood with low-VOC sealants that are safe for wildlife, and using galvanized or stainless hardware protects against rust. Roofs should shed moisture quickly, and feeding trays should be easy to rinse and dry between fills.
Below all four plans share these core criteria: use safe, durable materials; favor modular or easy to disassemble designs; and design for straightforward cleaning and refilling. Each plan includes species best suited to visit, seed or fat mixes that work well in most regions, and practical space considerations for urban, suburban, and balcony setups.
Four beginner feeder plans
The following designs are chosen for their practicality, adaptability, and the learning curve they present. For each plan you’ll find an overview, best fit birds, seed and mix recommendations, a materials list, and step by step build guidance. A printable cut-list PDF accompanies this article for straightforward replication.
Plan 1: Platform feeder
Overview The platform feeder is the simplest, most adaptable option. It serves as a seed tray with minimal structure, making it ideal for a first build and a flexible feeding station for a variety of seed mixes.
Best fit birds Small songbirds such as chickadees, sparrows, finches, and nuthatches typically visit platform feeders. Depending on location, larger species may sample early season offerings from the edges.
Seed and mix recommendations A versatile mix often includes sunflower seeds, safflower, and nyjer for finches. Cracked corn can be offered in moderation where allowed by local birds.
Materials, cut list, and tools Materials: untreated lumber for base and rims, screws, a small roof or overhang to shed rain, a removable tray, non toxic finishing product. Tools: saw, drill/driver, measuring tape, clamps, screwdriver bits, safety glasses. Step by step build (summary)
Weatherproofing and finishing tips Seal all wooden surfaces with a non toxic, low-VOC finish. The roof should be sloped to shed water and have a small overhang. Finish edges and joints to reduce moisture absorption and mold risk. Maintenance notes Clean the tray and lip weekly during peak feeding season. Dry thoroughly before refilling. Store seed in a cool, dry place to reduce mold risk. Estimated time Not specified Ballpark cost Not specified
- Cut a flat base and raised edges to create a shallow tray.
- Attach light side rails to form a feeding lip.
- Add a simple roof or overhang to shed rain.
- Seal with wildlife safe finish and install a removable tray for cleaning.
- Mount or place in a sheltered, sunlit spot with some shade during hot afternoons.
Comparison and quick pick A compact, affordable choice that works in small spaces or balconies. If you anticipate a wide variety of small birds and want a very simple build, start with this plan.
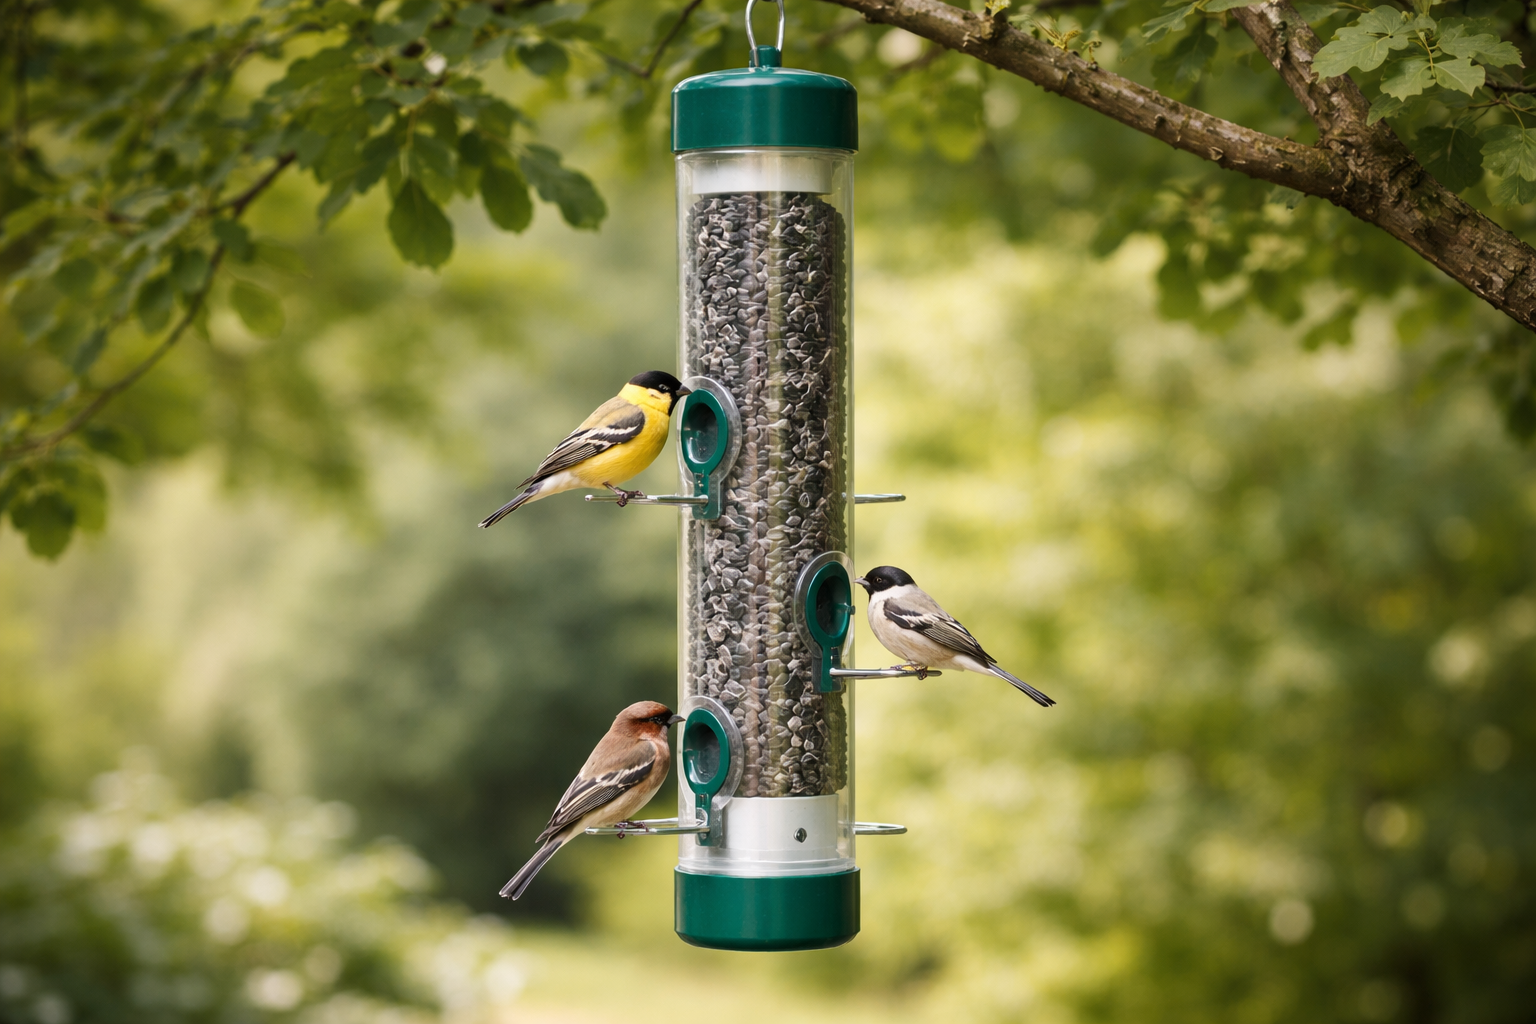
Plan 2: Tube feeder
Overview A modular tube feeder built from PVC or cedar tubes provides a weatherproof seed delivery system with multiple ports to reduce crowding at one feeding hole.
Best fit birds Finches, chickadees, and small songbirds that prefer a narrow feeding hole. Cedar variants can be tuned for both cedar and PVC aesthetics and fit various environments.
Seed and mix recommendations Nyjer for finches; sunflower seeds and safflower as complements. Avoid seeds that promote clogging or mold in humid climates.
Materials, cut list, and tools Materials: PVC pipe sections or cedar tubes, end plugs, wire or acrylic perches, seed ports, weatherproof sealant. Tools: saw, drill, hole saw, sandpaper, measuring tools, clamps. Step by step build (summary)
Weatherproofing and finishing tips Seal all joints, ensure ports are smooth to minimize burrs, and keep metal components rust resistant. A small roof extension protects ports from rain. Maintenance notes Regularly empty and clean the tube to prevent mold. Rotate seed to prevent spoilage and wash perches to remove debris. Estimated time Not specified Ballpark cost Not specified
- Cut tube sections with a simple channeling for seed flow.
- Add end caps and perches that allow birds to land.
- Drill ports along the tube with gentle slopes for seed flow.
- Attach a mounting bracket or wall mount.
- Seal joints and edges with wildlife safe sealant.
- Install and test feeding.
- Periodically clean and rotate seed to avoid spoilage.
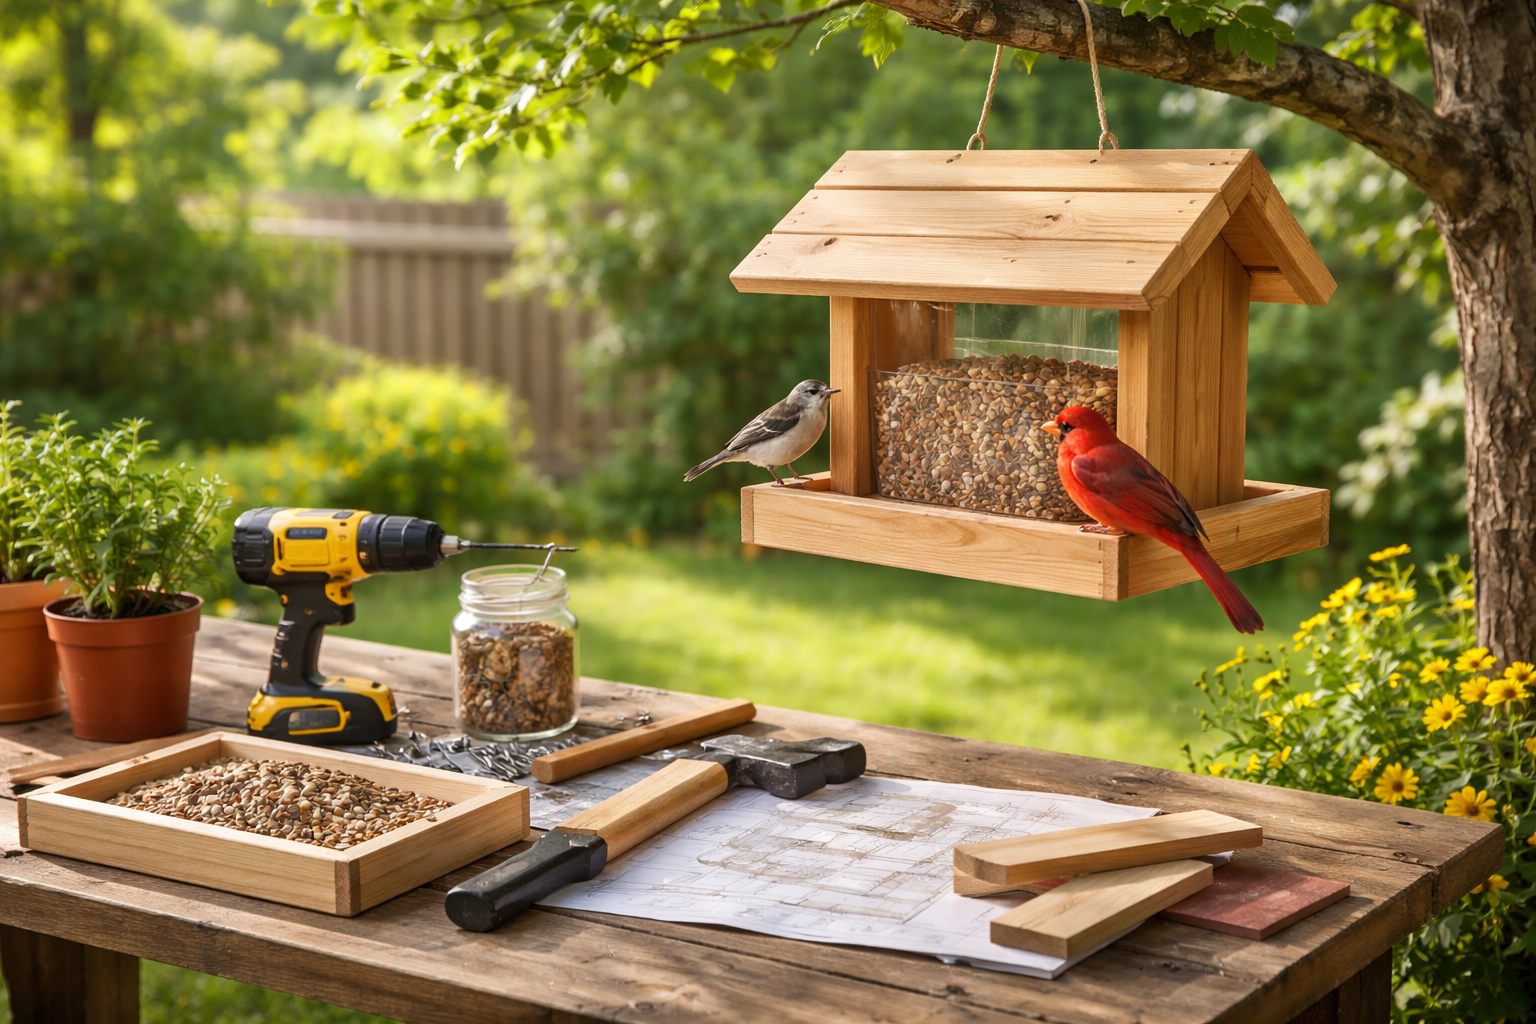
Plan 3: Hopper feeder
Overview A hopper feeder is a box style with a seed storage chamber and a simple roof. It provides a protected seed reservoir and a longer feeding window between fills.
Best fit birds A wider range of songbirds including chickadees, nuthatches, sparrows, and some larger finches depending on size. Hopper designs can handle larger seed volumes, reducing refilling frequency.
Seed and mix recommendations Black oil sunflower seeds, millet, and cracked corn are common. A little peanut meal can be added if local birds tolerate it. Seed storage space should be enclosed to stay dry.
Materials, cut list, and tools Materials: plywood or cedar boards, door or lid with latch, seed reservoir, roof panels, weatherproof sealant, screws, hinges. Tools: saw, drill/driver, measuring tape, hammer, chisel, clamps. Step by step build (summary)
Weatherproofing and finishing tips Use a roof with a steep slope and a sealed bottom. Apply a wildlife safe finish to all exterior surfaces and keep the interior accessible for cleaning. Maintenance notes Vacuum or brush out seed remnants after each season, and wash the reservoir with mild soap and water. Dry completely before refilling. Estimated time Not specified Ballpark cost Not specified
- Assemble a box with a simple door or lid.
- Build a seed reservoir with a clear or slatted front for monitoring.
- Attach a weatherproof roof.
- Install a perch rail and a seed dispensing slot.
- Seal all joints and finish.
- Mount and fill, keeping the feeder level and stable.
Plan 4: Suet feeder or cage
Overview A simple suet feeder or cage offers year round nutrition with high-fat options. These feeders can be window mounted, hung, or wall mounted, depending on space.
Best fit birds Woodpeckers, chickadees, nuthatches, wrens, and assorted year round visitors. Suet can attract a broader range in winter when natural foods are scarce.
Seed and mix recommendations High energy suet blocks or home prepared suet mixes with peanuts, seeds, and fat are common. In warm climates, provide shade and avoid spoiled suet.
Materials, cut list, and tools Materials: metal cage or simple wooden frame, suet blocks or fat mix, mounting hardware, weatherproof sealant. Tools: pliers, wire cutters, screwdriver, drill, protective gloves. Step by step build (summary)
Weatherproofing and finishing tips Use rust resistant hardware and ensure the heater is suitably shaded in hot climates. Clean off any manure or seed debris to minimize disease risk. Maintenance notes Check suet regularly for spoilage and pests. Replace blocks at the first sign of spoilage or odor. Clean the cage monthly when in use. Estimated time Not specified Ballpark cost Not specified
- Assemble a small cage or frame to hold suet blocks.
- Mount a lid or access panel for easy refilling.
- Attach a mounting bracket or hook for safe placement.
- Finish with wildlife safe sealant and ensure surfaces are easy to reach for cleaning.
- Install in a shaded area to prevent melt and spoilage.
Side by side comparison: quick reader decision guide
| Plan | Complexity | Space required | Typical visiting birds | Ballpark cost (beginner) |
|---|---|---|---|---|
| Platform feeder | Low | Small to medium | Chickadees, finches, sparrows | 15 to 40 USD |
| Tube feeder | Medium | Medium | Finches, small songbirds | 25 to 60 USD |
| Hopper feeder | Medium to high | Medium to large | Chickadees, nuthatches, sparrows | 30 to 70 USD |
| Suet feeder or cage | Low to medium | Small | Woodpeckers, wrens, chickadees | 15 to 50 USD |
What to verify in store Check for sturdy construction, ease of cleaning, non toxic finishes, and a design that suits your space and typical local birds. If you have a balcony or small yard, a platform or suet feeder might be the simplest first step. If you have a little more space or a window with a good viewing angle, a tube feeder offers a compact but engaging option that can be expanded with modular designs later.
Installation and placement guidelines
Choose a location that minimizes risk of predation while maximizing bird viewing. A sheltered spot with morning sun and afternoon shade is often ideal, but local climate matters; in hot climates shade will help prevent nectar and fats from spoiling quickly. Proximity to trees offers natural perches and quick escapes, but avoid dense coverage directly above or near feeders to reduce predator ambushes. Mounting options include sturdy posts, wall brackets, or hanging hardware. If you live in an urban area with strong wind, place feeders on the leeward side of a structure or use robust mounting with guy lines for stability.
Wildlife deterrents should be used with care. Squirrels can be managed with baffles and weight activated perches, while keeping cats away from feeding areas helps reduce aggressive encounters. Ensure that feeder heights and mounting allow safe access for refilling and cleaning without requiring risky climbs or ladders.
Seasonal considerations: winter feeding benefits from high caloric seed and fat sources, while summer feeding emphasizes dry storage and shade to prevent mold. In all seasons, provide fresh water if possible, either in a small heated bowl in winter or a shade cooled dish in summer.

Materials, tools, and budgets
Tools you’ll rely on include a saw, a drill with appropriate bits, a screwdriver, clamps, tape measure, and safety equipment. Materials should emphasize wildlife safe, non toxic finishes and hardware that resists corrosion. For each plan you’ll find a ballpark budget range, which is not a fixed price and may vary by material choices and local prices.
To help you plan, here is a practical quick-start checklist that fits into a weekend build. A printable template pack accompanies this article for your own records and for sharing with a helper.
Quick-start weekend plan (printable template included)
| Task | Estimated Time | What to Check | Materials / Notes | Status |
|---|---|---|---|---|
| Choose plan based on space and birds | 1 hour | Space, local species, budget | Review plan summaries | Not started |
| Gather materials | 2–3 hours | Non toxic finishes, hardware quality | Not specified | Not started |
| Cut basic parts | 2–4 hours | Straight cuts, smooth edges | Not specified | Not started |
| Assemble and fasten | 2–3 hours | Secure joints, no sharp edges | Not specified | Not started |
| Weatherproof and finish | 1–2 hours | Safe finishes, even coat | Not specified | Not started |
| Mount and test | 1 hour | Stability, ease of refilling | Not specified | Not started |
| Fill with seed, observe | Ongoing | Bird activity, spill and mold | Not specified | Not started |
If you prefer a more structured plan, print the cut-list PDF and the quick-start calendar to guide your weekend. The PDFs are designed to mirror the steps above and include dimensioned parts lists, hole placements, and color-coded assembly steps for quick reference.
Seasonal feeding guidance and seed considerations
Winter months are a time for high energy foods. Offer sunflower seeds, suet, nuts, and peanuts to help birds maintain body condition in cold weather. Fresh water is essential, as outdoor sources may freeze. In milder climates, nectar or fruit based options can complement seed offerings for specific species such as hummingbirds or orioles when they are in season, but ensure such offerings do not promote mold or pests. In summer, ensure seeds stay dry and mold free. Replace damp seed promptly and avoid leaving suet blocks out for long periods in heat. For all seasons, clean feeding areas weekly at minimum and more often during wet periods to reduce mold growth and pest problems.
Run simple tests in your yard to see which birds visit your feeders and adjust seed mixes and feeder placements accordingly. A little experimentation helps you learn what works best for your space and your local bird community.
Troubleshooting and safety
Common issues include mold and moisture in seed, seed spoilage, pests, and weather damaged components. If you notice moisture, move to a drier location and ensure roofs shed water well. Clean feeding surfaces regularly with mild soap and water, rinse, and dry completely before refilling. Pests such as squirrels and rats may require deterrents like baffles, placement adjustments, or weight activated perches. Coatings and finishes should be wildlife safe; avoid lead based paints or toxic varnishes. Always secure nails and screws so they do not protrude into feeding areas that birds may encounter.
Accessibility, visuals, and localization
The article includes exploded view diagrams, measurement tables, and high-contrast diagrams to aid comprehension. Alt text for all images describes key details such as perches, ports, and mounting hardware. The language is plain and direct, designed for homeowners and first-time DIY builders in diverse climates and settings. The designs are adaptable for different bird communities, including urban and balcony environments.
Maintenance calendar and glossary
A one page maintenance calendar helps you stay on track throughout the year. Seasonal tasks include quarterly inspection of all joints and fasteners, annual re sealing, and regular cleaning after wet periods or high bird activity. A glossary is provided to explain terms such as nyjer seed, suet, perches, and hopper portals, ensuring readers can follow instructions even if they are new to bird feeding terminology.
Glossary (selected terms)
- Nyjer seed: a tiny black oilseed favored by finches, especially goldfinches, often used in tube feeders.
- Suet: animal fat blocks used to provide high energy during cold months; typically offered in cages or hardened blocks.
- Hopper feeder: a feeder design that stores seed in a rear reservoir and dispenses through a front trough.
- Perch: a small ledge or rod where birds land to access feed.
- Not specified: placeholder used when a precise value or measurement is not provided in this article.
Maintenance calendar (one page)
- January to March: inspect structure for weather damage, tighten joints, clean feeding surfaces weekly, check for mold. Refinish surfaces with wildlife safe coating if needed.
- April to June: wash feeders to prevent disease build up as birds molt, test for seed quality and rotate seed types to suit seasonal visits.
- July to September: monitor for pests, ensure shade for hot climates, refresh water supplies if available.
- October to December: replenish seed reserves, inspect for winter readiness, consider adding suet blocks for energy during cold spells.
What to do next
Download the printable cut-list and quick-start templates to guide a weekend build. If you have questions about seed types or bird behavior in your area, consult trusted guides from wildlife organizations and your state extension service. Share photos of your setup and your first visitors in the comments section to help other beginners learn from your experience.